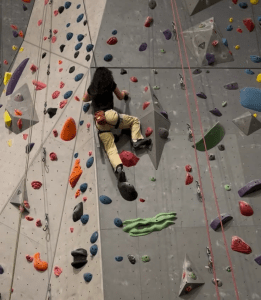
Reaching a mountain summit is an accomplishment worth remembering, and the right photography techniques can turn an ordinary hiking snapshot into a dramatic outdoor image. You don’t need professional camera equipment to capture impressive summit photos. A smartphone, thoughtful composition, good timing, and attention to the surrounding landscape can make a major difference.
From using foreground elements to experimenting with silhouettes and wide-angle compositions, there are plenty of creative ways to document the final stretch of your hike. Here are 8 hiking photography ideas for capturing epic summit photos.
1. Capture the Summit From a Distance
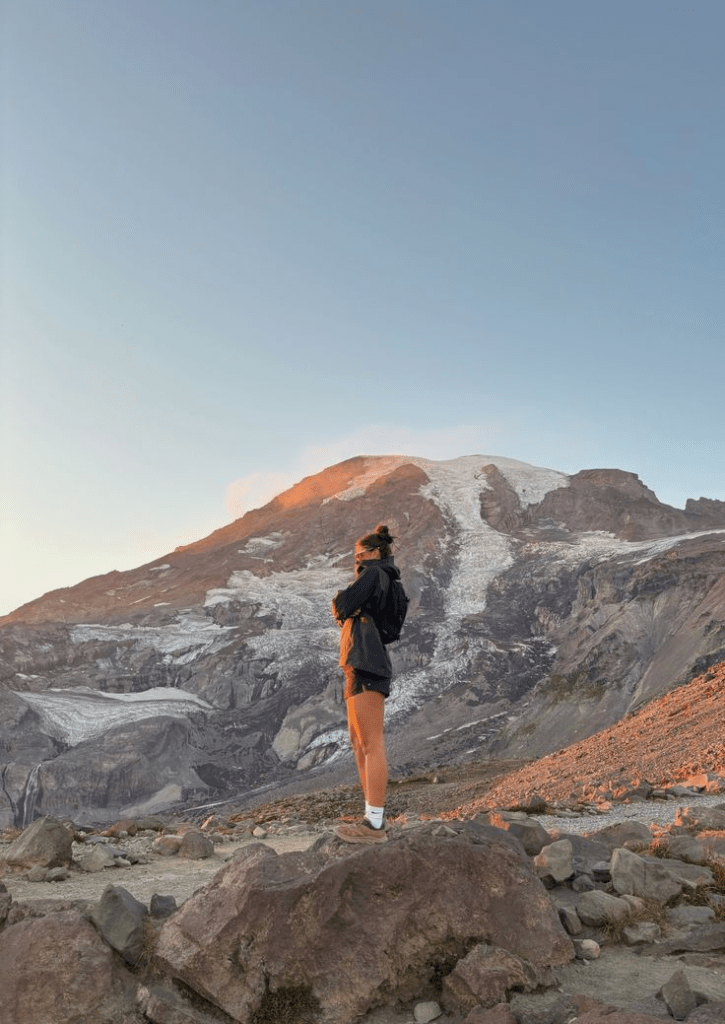
Instead of photographing the summit only after reaching the top, step back and capture the entire landscape.
Try:
- Including the mountain peak
- Showing the hiking trail
- Positioning a person in the scene
- Using surrounding ridges as natural framing
This gives the photo a stronger sense of scale.
2. Use a Person for Scale
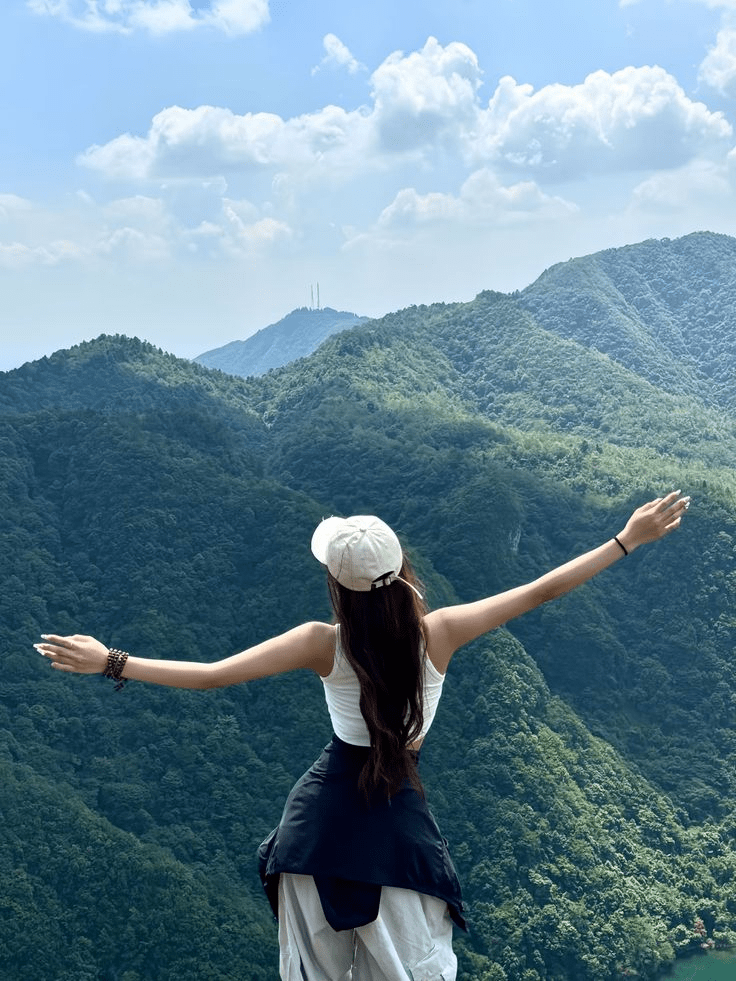
A small figure standing against a huge landscape can make a mountain look even more dramatic.
Ask your hiking partner to stand safely in a visible location while you photograph from farther away.
Tip: Keep the person relatively small in the frame so the surrounding landscape remains the main subject.
3. Photograph the Journey to the Top
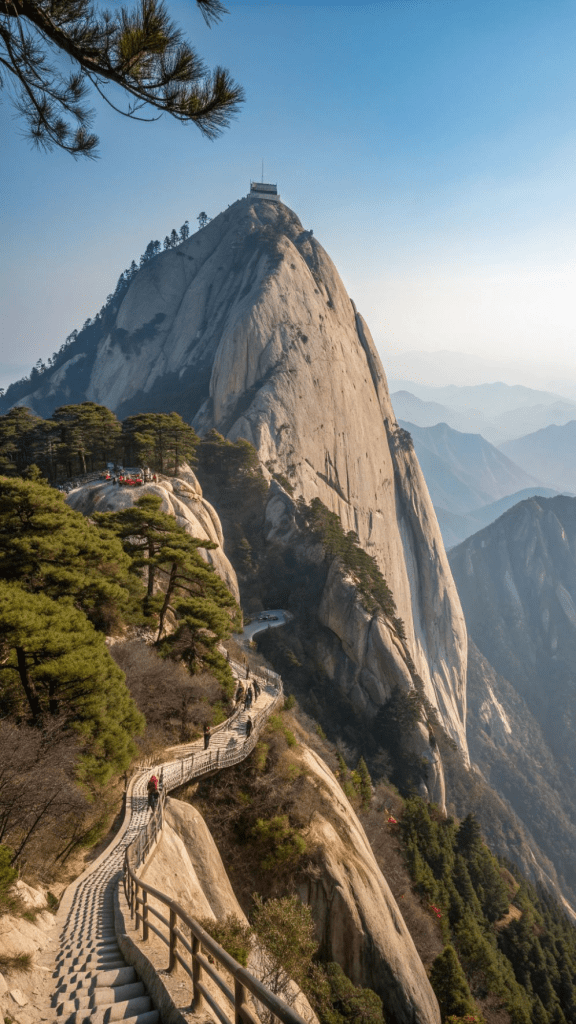
Don’t wait until the summit for every photo. Capture moments along the way to tell the story of the hike.
Look for:
- Steep trails
- Rocky sections
- Forest paths
- Footsteps
- Rest stops
- Changing landscapes
A series of images can make the final summit photo feel more meaningful.
4. Try a Silhouette at Sunrise or Sunset
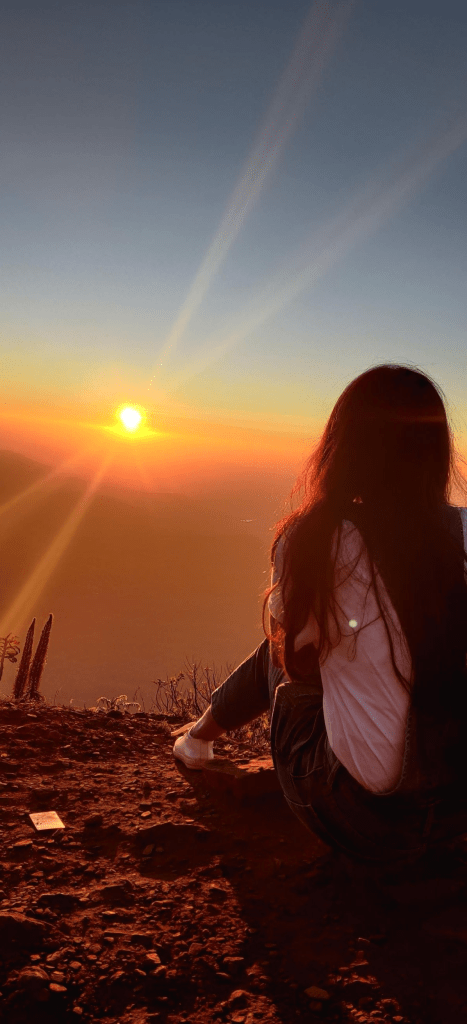
Low-angle sunlight can create striking silhouettes against colorful skies.
Position your subject between the camera and the brighter part of the sky.
Experiment with:
- Standing poses
- Raised arms
- Hiking poles
- Backpack silhouettes
- Mountain ridgelines
Only attempt sunrise or sunset summit photography when the route and conditions make it safe.
5. Frame the Landscape With Foreground Elements
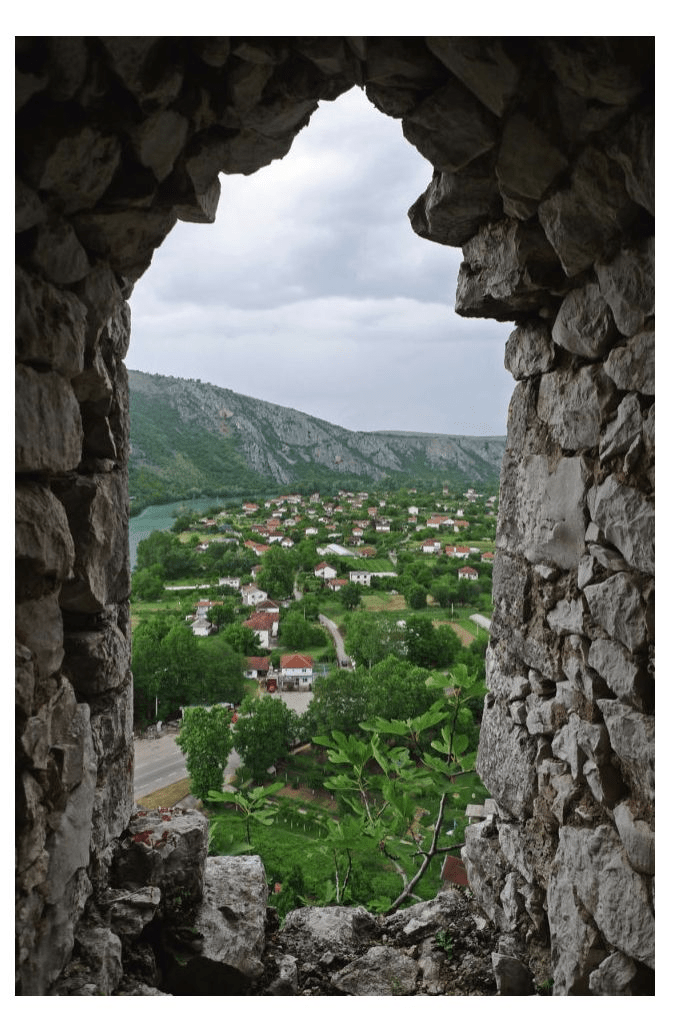
Add depth by placing something close to the camera.
Use:
- Rocks
- Wildflowers
- Tree branches
- Hiking gear
- Trail markers
A foreground element can make a landscape feel more three-dimensional.
6. Capture the View From Behind
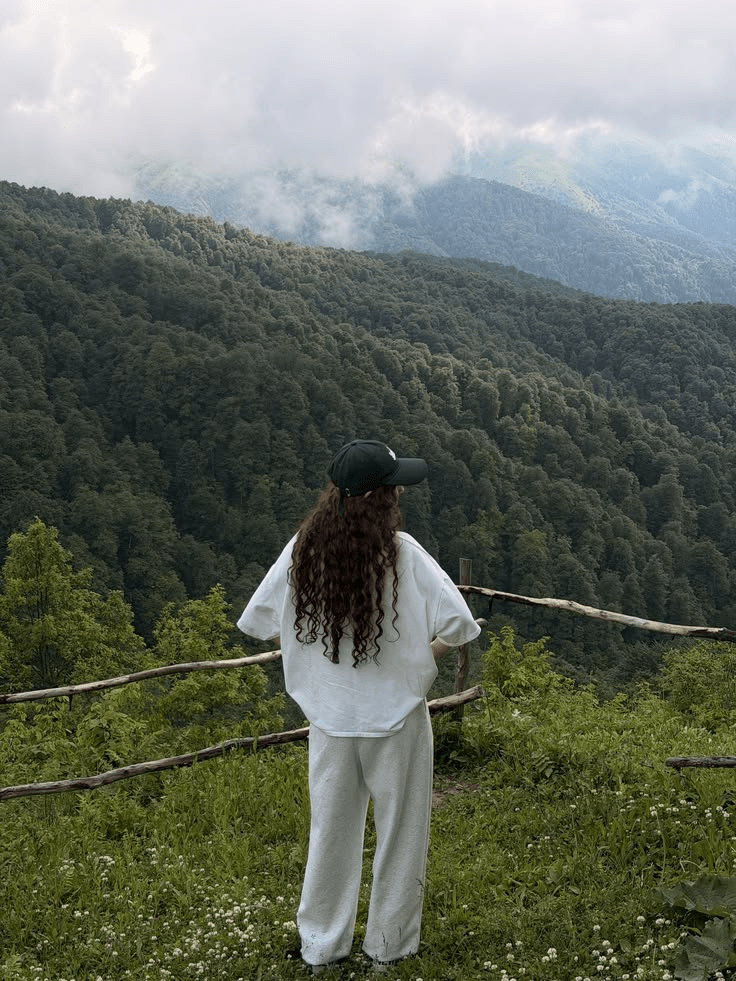
Instead of photographing someone’s face, capture them looking toward the landscape.
A person standing with their back to the camera can create a sense of exploration and invite viewers to imagine themselves at the summit.
Try photographing:
- A hiker looking over a valley
- A backpack resting beside the trail
- Someone standing near a safe viewpoint
- A pair of hikers enjoying the scenery
7. Experiment With Panoramic Shots
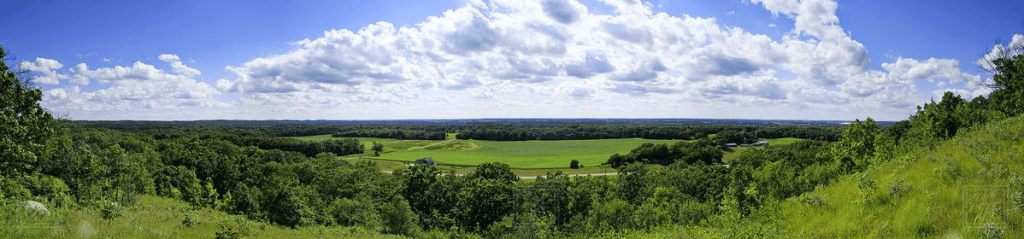
Wide landscapes are perfect for panoramic photography.
Move slowly across the scene or use your phone’s panorama mode to capture a broader view.
Look for:
- Layered mountain ranges
- Valleys
- Lakes
- Clouds
- Long ridgelines
Keep the camera level as much as possible for a cleaner result.
8. Take a Summit Detail Shot
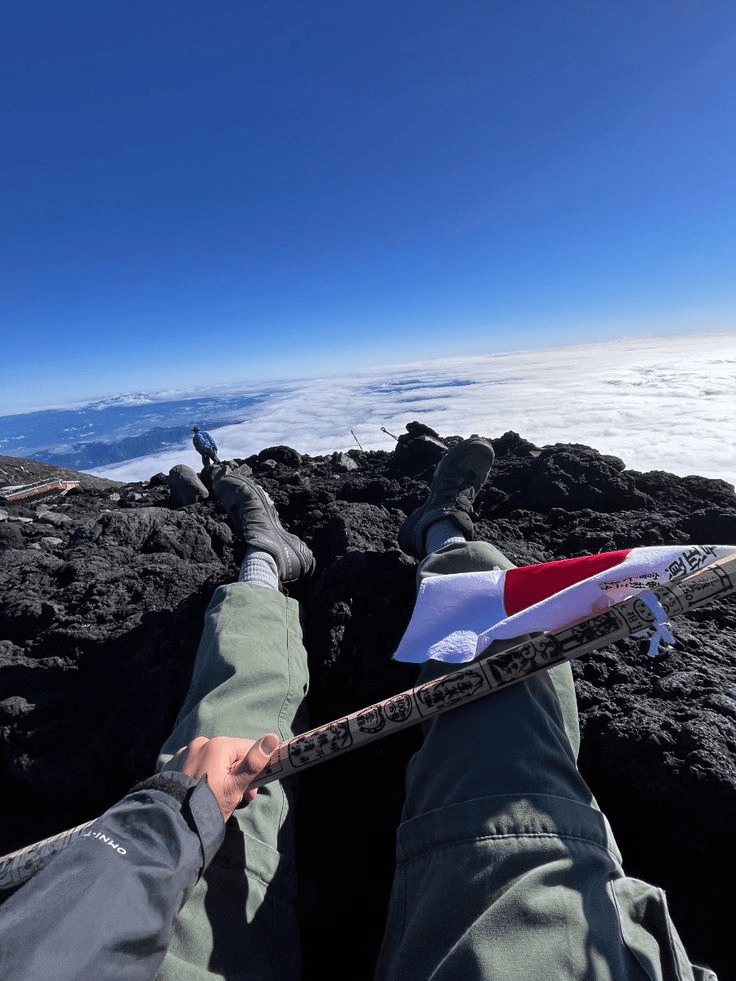
Epic landscape photos aren’t the only way to document the experience. Capture small details that tell the story of reaching the top.
Ideas include:
- Hiking boots beside the summit
- A trail map
- A backpack
- A summit marker
- Hands holding a camera
- A thermos with the landscape behind it
These close-up images can add variety to your hiking photo collection.
Summary
Great summit photography is about more than having an impressive view. Use scale, depth, perspective, light, and storytelling to create images that capture both the landscape and the experience of getting there. Whether you’re using a smartphone or a dedicated camera, experiment with silhouettes, panoramic views, foreground elements, and candid moments. Most importantly, prioritize the trail and your surroundings over getting the perfect shot.
Frequently Asked Questions
What is the best time for summit photography?
Early morning and late afternoon often provide softer, more directional light. Weather and trail safety should always come first.
How can I make a mountain look bigger in photos?
Include a person or another recognizable object for scale, and use foreground elements to create depth.
Can I take good hiking photos with a phone?
Yes. Modern smartphones can capture excellent outdoor photos. Focus on composition, lighting, and keeping the lens clean.
How do I photograph a silhouette on a hike?
Place your subject between the camera and a brighter section of the sky, then adjust exposure so the subject appears dark against the background.
What camera settings are useful for mountain photography?
For beginners, automatic or landscape modes can work well. More advanced photographers can experiment with exposure compensation, HDR, focus, and shutter speed depending on the conditions.
Should I bring a tripod hiking?
A small, lightweight tripod can be useful for sunrise, sunset, long exposures, or self-portraits, but it isn’t essential for most summit photos.
How do I photograph myself at the summit?
Use a tripod and timer, or ask a hiking partner to take the photo. Always position yourself well away from exposed edges or unstable terrain.
How can I stay safe while taking summit photos?
Stay on designated paths when possible, keep a safe distance from cliffs and unstable edges, watch changing weather conditions, and never sacrifice your safety for a photograph.