Halloween is the perfect time to transform an ordinary garden into a spooky, playful space filled with creepy details and seasonal charm. You do not need expensive store-bought decorations or a large outdoor area to create an impressive Halloween display. With a little creativity, you can turn everyday household items, recycled materials, fallen branches, old containers, and inexpensive craft supplies into decorations that make your garden feel festive. Whether you prefer a haunted garden with eerie silhouettes or a cute Halloween theme filled with pumpkins and friendly ghosts, simple DIY projects can help you create the atmosphere you want without spending too much money.
One of the best things about decorating your garden for Halloween is that you can customize every project to suit your space and budget. A small balcony, front porch, flower bed, or spacious backyard can become part of your seasonal display with just a few thoughtful additions. You can use solar lights, fabric scraps, painted pots, and natural materials to add spooky details while keeping your existing plants and garden features intact. Many of these projects are also easy enough to complete in an afternoon, making them ideal for beginners and families who want to enjoy some Halloween crafting together. Here are 10 easy DIY Halloween garden decorations on a budget that will help you create a fun, spooky outdoor space without overspending.
1. DIY Ghosts Made From Old White Fabric
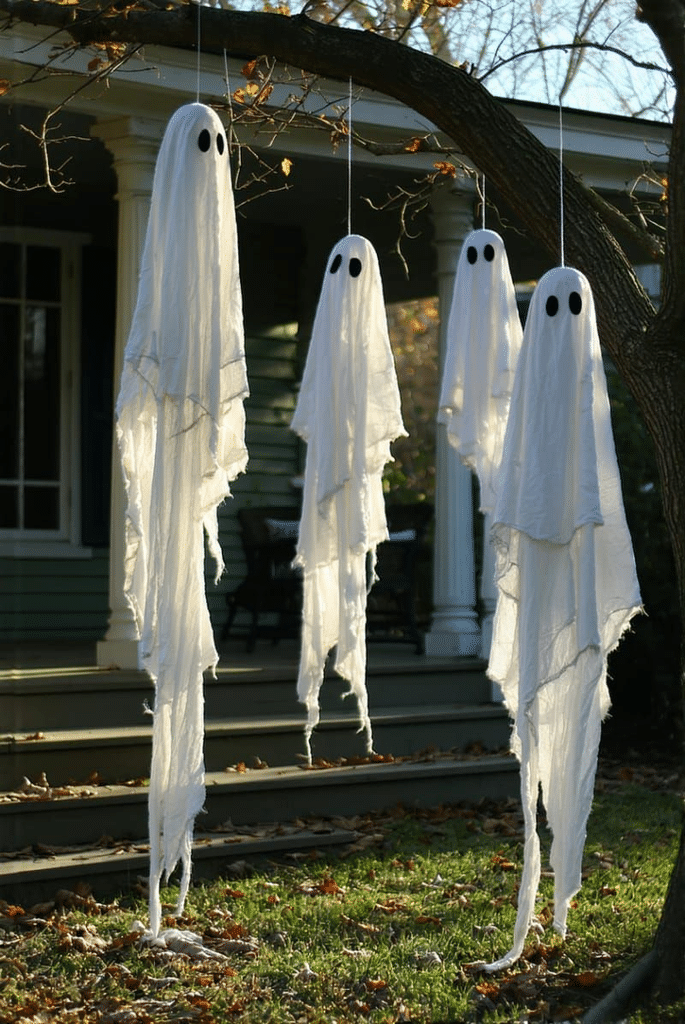
Nothing says Halloween quite like a few floating ghosts appearing among your garden plants. These simple decorations are inexpensive, easy to make, and perfect for adding a spooky touch to flower beds, pathways, or porch corners.
To create your ghosts, gather old white fabric, worn-out pillowcases, or lightweight white sheets. Place a lightweight ball or scrunched-up paper at the center of each piece of fabric to form the ghost’s head. Secure the fabric underneath the head with string, then add eyes and a mouth using black fabric scraps or a suitable marker.
Attach the ghosts to garden stakes or hang them from a sheltered structure. You can make several in different sizes to create the appearance of a little ghost family wandering through your garden.
Budget-friendly tip: Reuse fabric you already have instead of buying new material. Keep the decorations away from open flames, electrical hazards, and areas where the fabric could become tangled in plants or walkways.
2. Spooky Painted Pumpkin Pots
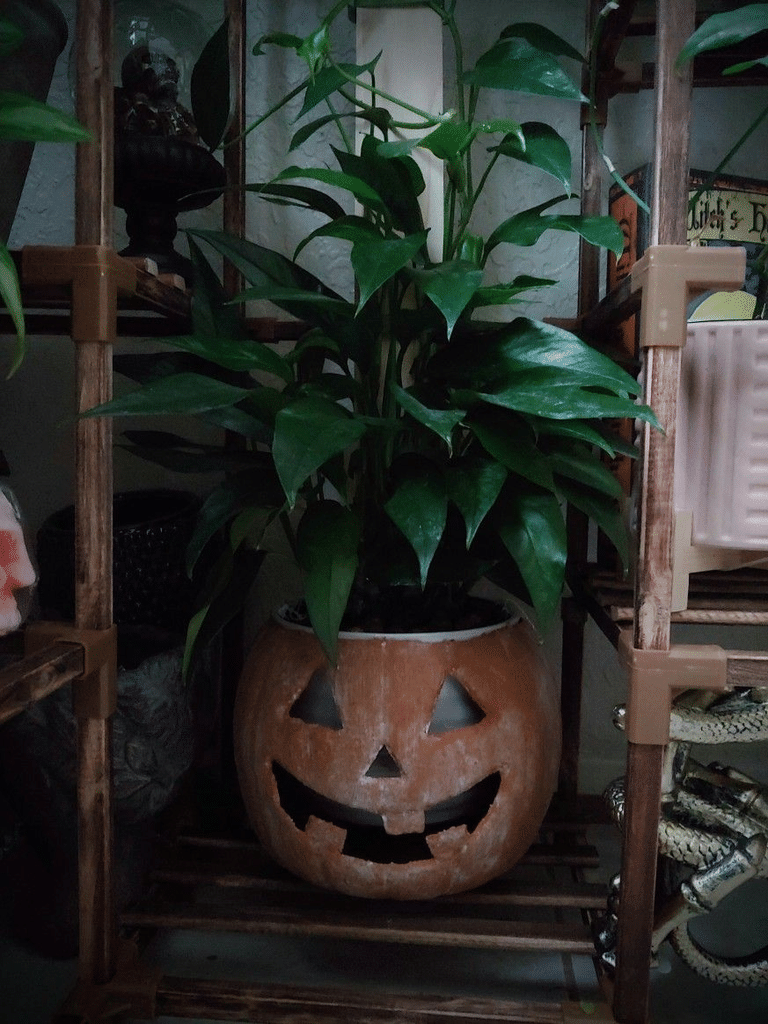
Give ordinary plant pots a Halloween makeover with black, orange, purple, and white paint. This project is ideal if you want to decorate your garden while keeping your existing plants as part of the display.
Start with clean terracotta or suitable outdoor plant pots. Paint them orange and add black triangle eyes, a nose, and a jagged mouth to create a pumpkin face. Alternatively, paint a pot black and add white spiderwebs, tiny bats, or a friendly ghost design.
Once the paint has dried, place the pots along your garden path, near the front door, or beside outdoor seating. You can keep your existing plants inside or fill the pots with seasonal flowers and decorative branches.
Budget-friendly tip: Use pots you already own and check that your paint is suitable for the pot material and outdoor conditions. If the pots will hold live plants, keep drainage holes clear and avoid using coatings that are not appropriate for planters.
3. Recycled Tin Can Lanterns
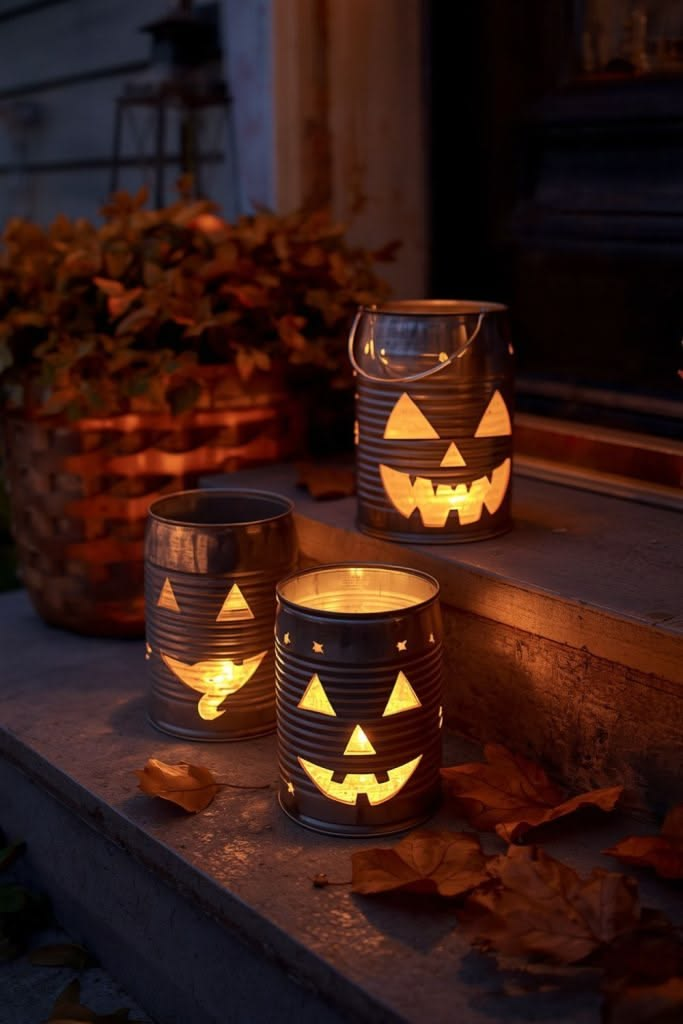
Turn empty food cans into charming Halloween lanterns that add a warm glow to your outdoor decorations. This project gives recyclable materials a second life and allows you to create different patterns for a personalized display.
First, wash the cans thoroughly and remove their labels. An adult can carefully make small holes in the sides to create patterns such as stars, pumpkins, bats, or simple dots. Sharp edges can be dangerous, so smooth or cover them appropriately before decorating.
Paint the cans in Halloween colors if desired, then place battery-operated LED tea lights inside. Arrange the lanterns along a stable porch ledge or group them on a garden table where they will not be knocked over.
Budget-friendly tip: Use leftover paint and inexpensive battery-operated lights. Avoid real candles in these decorations, especially near dry leaves, fabric, children, or pets.
4. DIY Spiderwebs From Black String
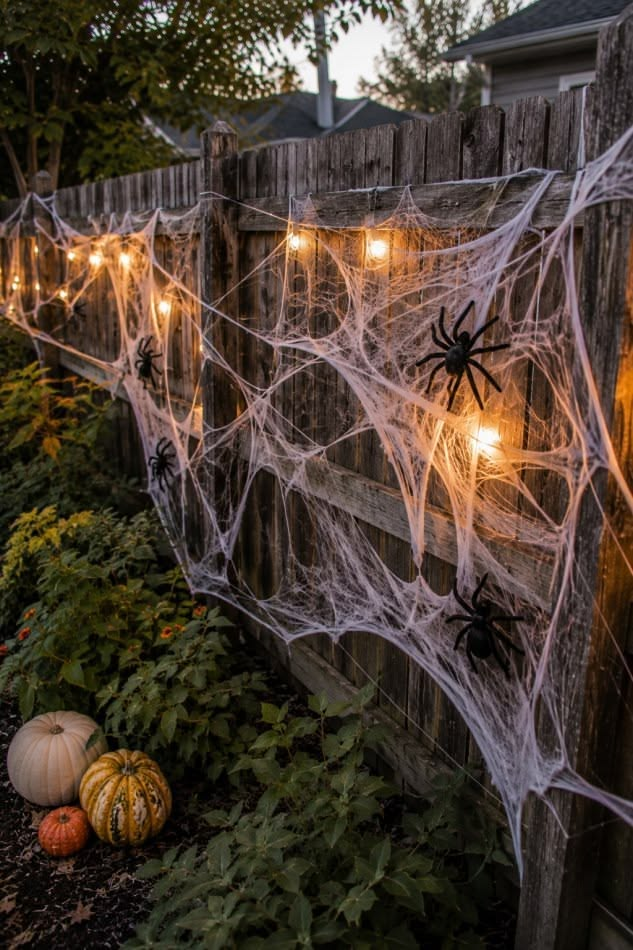
Large spiderweb decorations can make your garden look like a miniature haunted scene. With black string or yarn, you can create dramatic web patterns between suitable supports without purchasing elaborate Halloween props.
Choose a sheltered location, such as a porch corner, a sturdy garden frame, or a space between secure posts. Tie several lengths of string between the supports to create a star-shaped framework. Then weave additional string around the framework in expanding circles, securing it as you go.
Add a few handmade spiders using black paper, cardboard, or other lightweight craft materials. You can make them different sizes to create the appearance of a larger spider family.
Budget-friendly tip: Use leftover yarn, string, or wool from previous craft projects. Keep the webs away from public walkways, wildlife routes, and places where birds or other animals could become entangled. Remove the decorations after Halloween.
5. Creepy Branch Trees
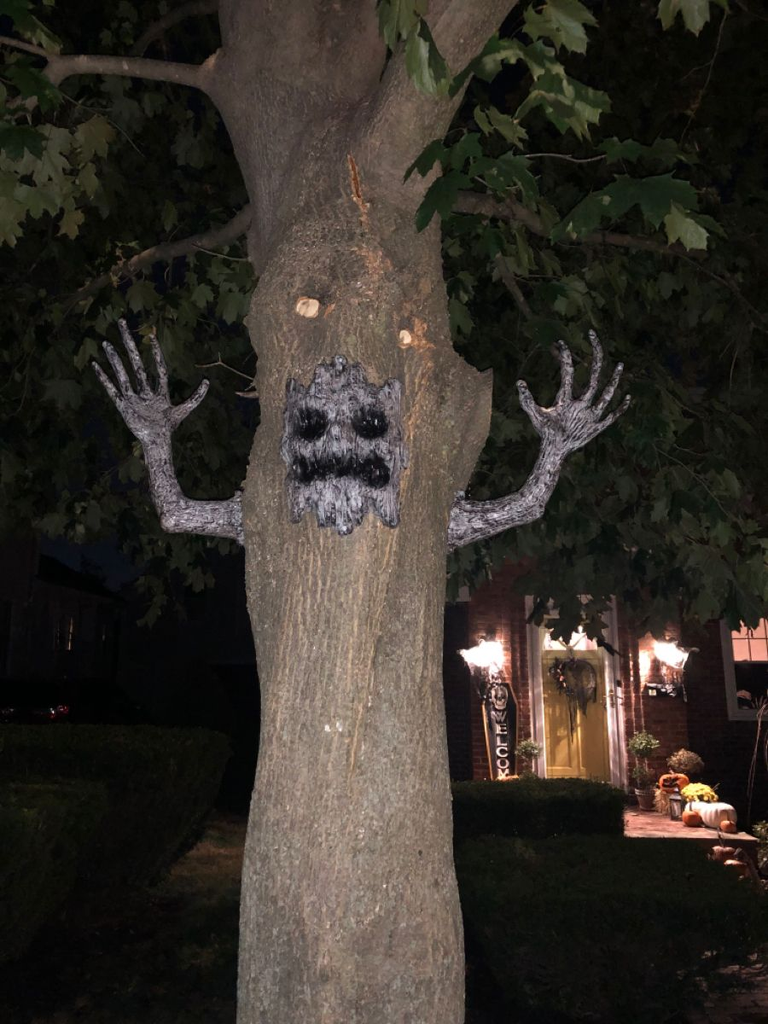
Create a miniature haunted forest using fallen branches and twigs collected from your garden. Their unusual shapes and twisted silhouettes can look wonderfully spooky when arranged against a wall or illuminated at night.
Look for sturdy branches that have already fallen naturally. Place them in a heavy plant pot or stable container filled with sand or stones so they remain upright. You can paint the branches black or leave their natural color for a rustic, weathered look.
Decorate them with small paper bats, lightweight ghosts, faux cobwebs, or hanging cardboard ornaments. A few battery-operated fairy lights can add extra atmosphere without requiring complex electrical arrangements.
Budget-friendly tip: Collect suitable fallen branches instead of buying decorative twigs. Avoid cutting healthy plants unnecessarily, and make sure the finished arrangement cannot tip over in wind or block a pathway.
6. Recycled Bottle Monster Decorations
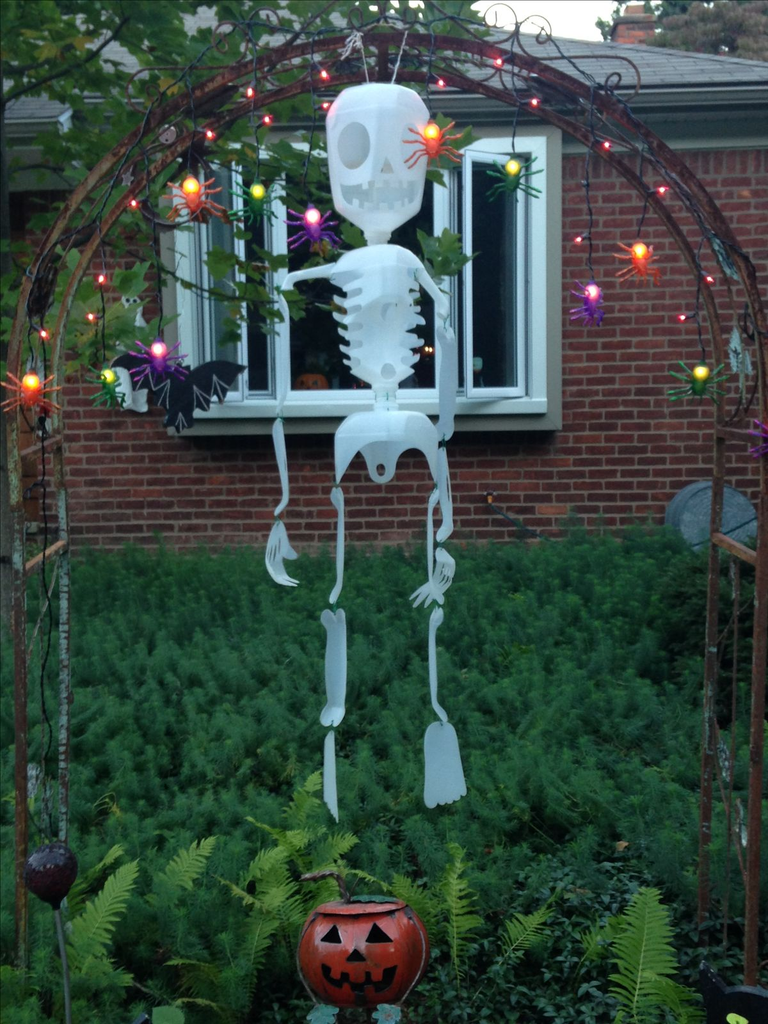
Plastic bottles can become colorful Halloween monsters with just a little paint and imagination. These lightweight decorations work well around garden beds, on porch steps, or near the entrance to your home.
Clean and dry empty plastic bottles, then paint them green, purple, orange, or white using paint suitable for the material. Add large eyes, crooked mouths, sharp-looking teeth made from paper, or funny eyebrows to give each monster its own personality.
You can create a whole collection of characters, including friendly ghosts, silly monsters, and miniature witches. If the decorations will be displayed outdoors, secure them to a stable base or place them somewhere protected from strong wind.
Budget-friendly tip: Use bottles from your recycling bin and scraps of paper or cardboard for facial details. Choose water-based, suitable craft materials and avoid leaving loose plastic pieces where pets or wildlife could swallow them.
7. DIY Halloween Silhouette Stakes
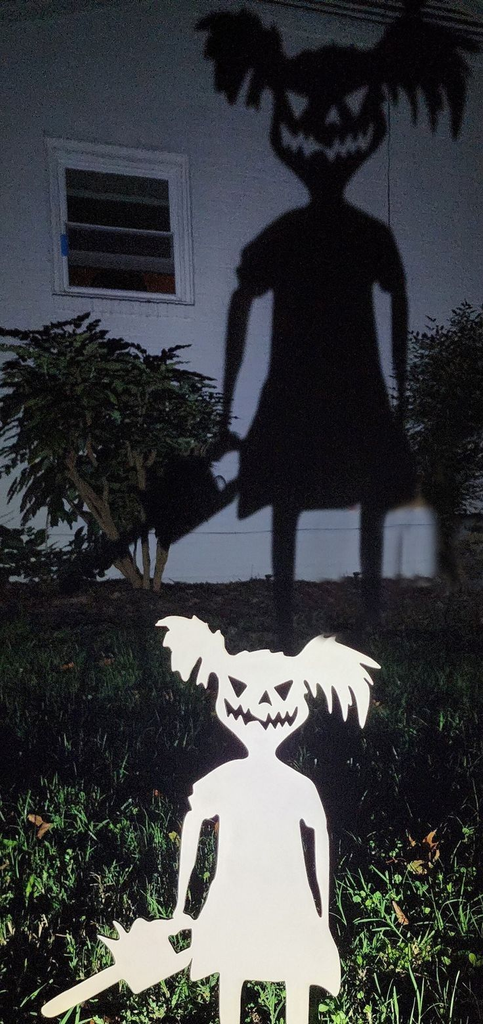
Black silhouettes can create a spooky Halloween scene without requiring many supplies. Cut-out shapes of bats, cats, witches, or haunted houses stand out beautifully against a light-colored wall, fence, or evening sky.
Draw your chosen shapes onto black cardstock or cardboard. Carefully cut them out and attach each shape to a wooden garden stake or another suitable support. Place the silhouettes along a garden path or near the edge of a flower bed, leaving enough space for people to walk safely.
For a more dramatic display, use silhouettes of different heights. A group of bats can appear to fly across a garden wall, while black cats and crooked trees can create a simple haunted-garden scene.
Budget-friendly tip: Reuse cardboard packaging and leftover black paint. For outdoor use, choose materials that can tolerate the expected weather, and bring paper-based decorations indoors if rain is likely.
8. A Budget-Friendly Halloween Pumpkin Path
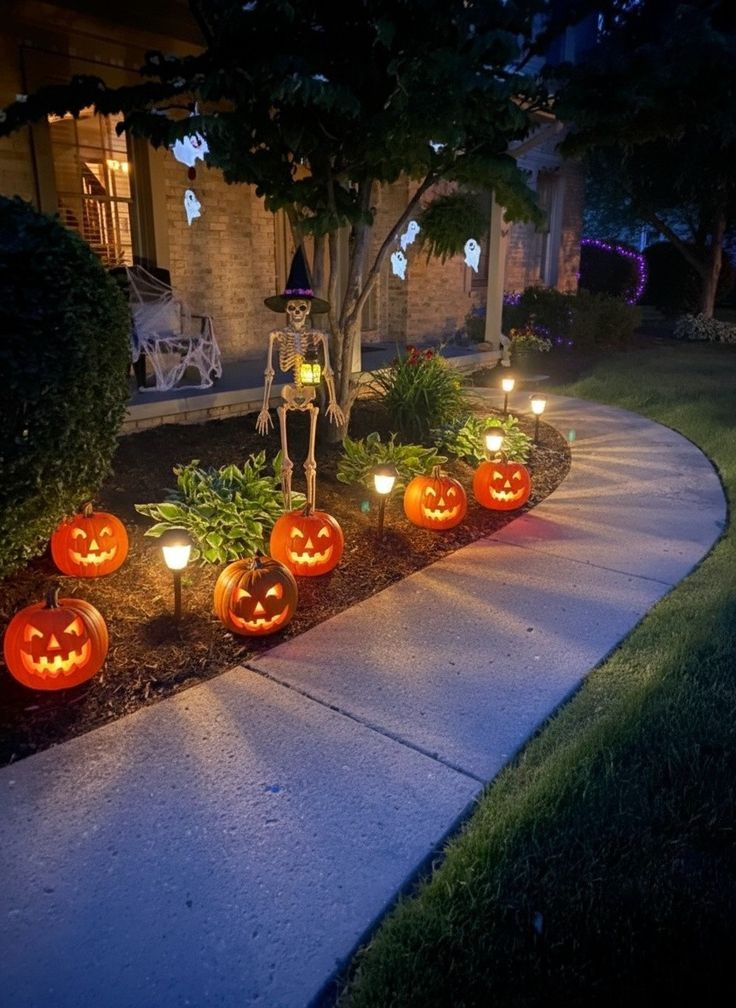
Create a welcoming Halloween pathway using pumpkins, recycled containers, and small lights. This decoration can be playful rather than frightening, making it suitable for homes that prefer a family-friendly Halloween atmosphere.
Arrange pumpkins of different sizes along the sides of your garden path. You can use real pumpkins, reusable artificial pumpkins, or painted containers decorated to resemble pumpkins. Add simple faces, stripes, or geometric patterns to create variety.
Place battery-operated LED lights near the pumpkins to make the path more visible after sunset. Keep the lights and decorations outside the walking area so guests can move comfortably without tripping.
Budget-friendly tip: Use pumpkins from your kitchen display or repaint old decorations from previous years. If you use real pumpkins, keep them in a cool, sheltered spot and check them regularly for signs of decay.
9. Hanging Bats Made From Recycled Cardboard
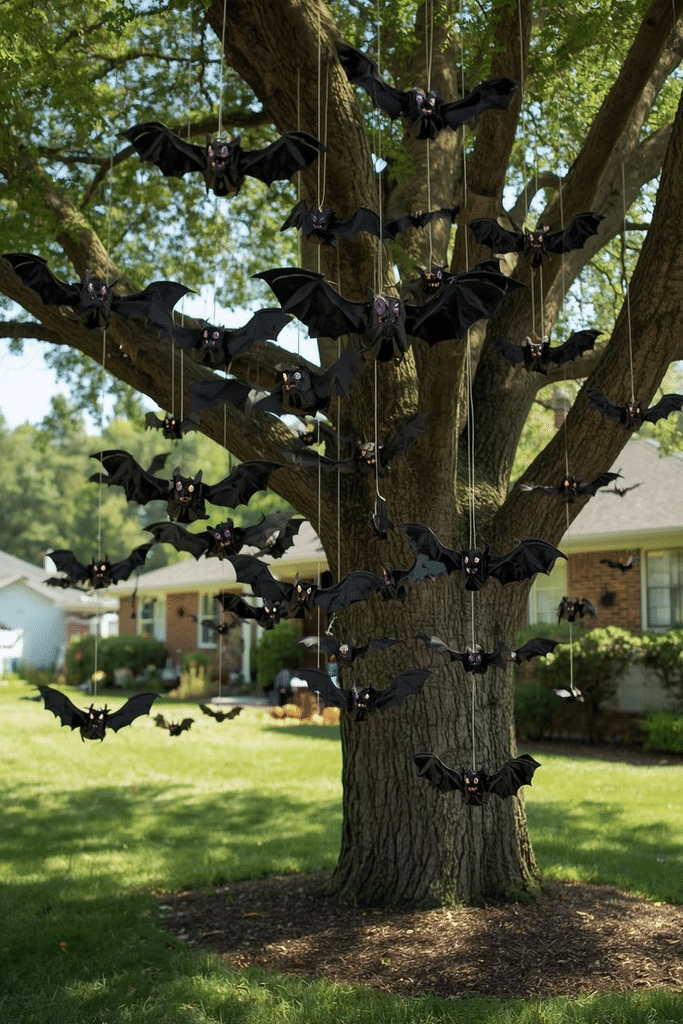
A group of hanging bats is an easy way to add movement and spooky character to a garden or porch. You can make them from old cardboard boxes, paper packaging, or thick black paper.
Draw bat shapes in several sizes, making the wings slightly different so the group looks more natural. Cut out the shapes and decorate them with white eyes or small details if you prefer. Attach string to the top of each bat and hang them from a sheltered pergola, porch beam, or other suitable support.
Arrange the bats at different heights to create the impression of a colony flying through the air. For a more cohesive display, pair them with black silhouette stakes or homemade spiderwebs.
Budget-friendly tip: Use packaging materials you already have and keep the design simple. Hang the bats securely, away from ceiling fans, electrical equipment, and places where the strings could become tangled.
10. Glowing Halloween Garden Jars
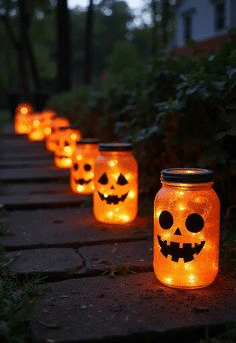
Turn clean glass jars into glowing Halloween decorations with paint, tissue paper, or simple cut-out shapes. These little lanterns can add a cozy, magical atmosphere to a porch table, outdoor seating area, or sheltered garden corner.
Wash the jars and remove any labels. Decorate the outside with orange tissue paper, black bat silhouettes, white ghost faces, or simple spiderweb designs. Allow any glue or paint to dry completely before adding a battery-operated LED tea light.
Group several jars together to create a small Halloween display. You can make each jar different or repeat the same design for a coordinated look. If you prefer a colorful display, use orange, purple, and green materials to create different glowing effects.
Budget-friendly tip: Reuse jam jars or other clean glass containers. Place them on a stable, sheltered surface where they cannot easily fall or break, and avoid using real flames near paper decorations.
Extra Tips for Decorating Your Garden on a Budget
You do not need to complete all ten projects to create a memorable Halloween garden. A few well-placed decorations can make a bigger impact than filling every corner with props.
- Choose a theme: Decide whether you prefer a haunted forest, friendly ghosts, classic pumpkins, or a playful monster garden.
- Reuse what you own: Old fabric, cardboard, jars, branches, and plant pots can become useful decorating materials.
- Focus on key areas: Decorate your entrance, pathway, porch, or one garden corner instead of trying to cover the entire space.
- Use lighting thoughtfully: Battery-operated LED lights can highlight decorations and improve visibility after dark.
- Make decorations reusable: Store durable items carefully so you can bring them out again next Halloween.
- Check the weather: Secure lightweight items and bring paper or fabric decorations indoors during heavy rain or strong winds.
- Keep pathways clear: Place props away from steps, entrances, and areas where visitors could trip.
- Protect plants and wildlife: Avoid attaching decorations tightly to living branches or leaving strings, plastic, and small loose parts outdoors after the event.
A simple plan and a little imagination can help you create a festive display without stretching your budget.
Summary
Creating a spooky outdoor space does not have to mean buying expensive decorations. These 10 easy DIY Halloween garden decorations use affordable supplies and everyday materials to transform your garden into a festive seasonal display. From fabric ghosts and painted pumpkin pots to recycled lanterns, hanging bats, and glowing jars, each project offers a simple way to add Halloween character to your outdoor space.
Start with one or two ideas that suit your garden and the materials you already have. Add more decorations gradually if you wish, and choose designs that reflect your personal style. With thoughtful placement, safe lighting, and a little creativity, you can create a memorable Halloween garden that looks charming, spooky, and budget-friendly.
Frequently Asked Questions
1. How can I decorate my garden for Halloween cheaply?
Reuse cardboard, old fabric, glass jars, empty bottles, and fallen branches to create homemade decorations. Focus on a few key areas, such as the entrance or garden path, and use affordable LED lights to highlight your display.
2. What are the easiest DIY Halloween garden decorations?
Fabric ghosts, cardboard bats, painted pumpkin pots, recycled bottle monsters, and decorated glass jars are all beginner-friendly projects. Most require only a few basic materials and simple crafting techniques.
3. How can I make my Halloween decorations weather-resistant?
Choose materials and paints suitable for outdoor use, secure lightweight items against wind, and place delicate decorations in sheltered areas. Bring paper, fabric, and other vulnerable materials indoors during heavy rain.
4. What can I use instead of expensive Halloween decorations?
Household recycling, old clothes, unused plant pots, twigs, jars, and cardboard can all be turned into creative Halloween props. Battery-operated LED lights can also help create a spooky atmosphere without expensive lighting equipment.
5. How can I make my garden look spooky at night?
Combine dark silhouettes, hanging bats, spiderwebs, and carefully positioned LED lights. Highlight a few focal points rather than lighting every area, while keeping entrances and walking paths clearly visible.
6. Are DIY Halloween decorations suitable for small gardens?
Yes. Small gardens, balconies, and porches can look festive with just a few decorations. Try painted pots, hanging bats, glowing jars, or miniature branch trees that use vertical space rather than taking up the entire floor.
7. How do I keep Halloween decorations safe around children and pets?
Use stable decorations, battery-operated lights, and materials without sharp edges. Keep strings, small parts, and breakable objects out of reach, and avoid blocking paths or placing decorations where they could easily fall.
8. When should I put up Halloween garden decorations?
You can begin decorating in early October or a little later, depending on your preferences and the local weather. Putting decorations up a week or two before Halloween gives you time to arrange the display and make any necessary adjustments.
SEO Meta Description: Try 10 easy DIY Halloween garden decorations on a budget, including fabric ghosts, painted pumpkin pots, recycled lanterns, hanging bats, and more.