
Bridges are some of the most interesting subjects to photograph because they combine architecture, geometry, movement, and surrounding scenery. From massive suspension bridges and elegant stone arches to modern city crossings, bridges can look completely different depending on where you stand. A straightforward front-facing photograph may show the structure clearly, but experimenting with perspective can turn an ordinary bridge photo into something much more dramatic. Changing your camera height, position, focal length, and composition can reveal patterns and details that are easy to miss.
You do not need expensive equipment or professional photography experience to capture creative bridge images. A smartphone can produce excellent results when you pay attention to composition and light. Try photographing from underneath, standing directly in line with the bridge, looking upward, or using reflections from nearby water. You can also experiment with people, vehicles, shadows, and surrounding buildings to add scale and context. The key is to move around rather than taking every photo from the same position. These ten bridge photography ideas can help you discover fresh perspectives and create architectural images that feel more dynamic, intentional, and memorable.
1. Photograph Straight Down the Center
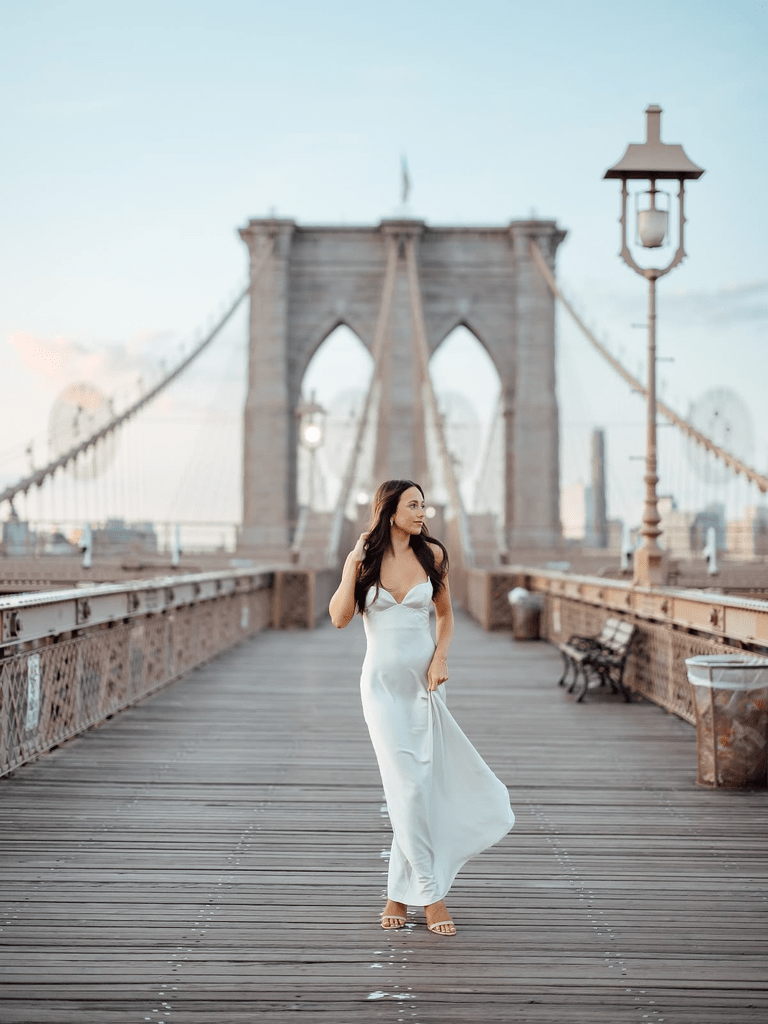
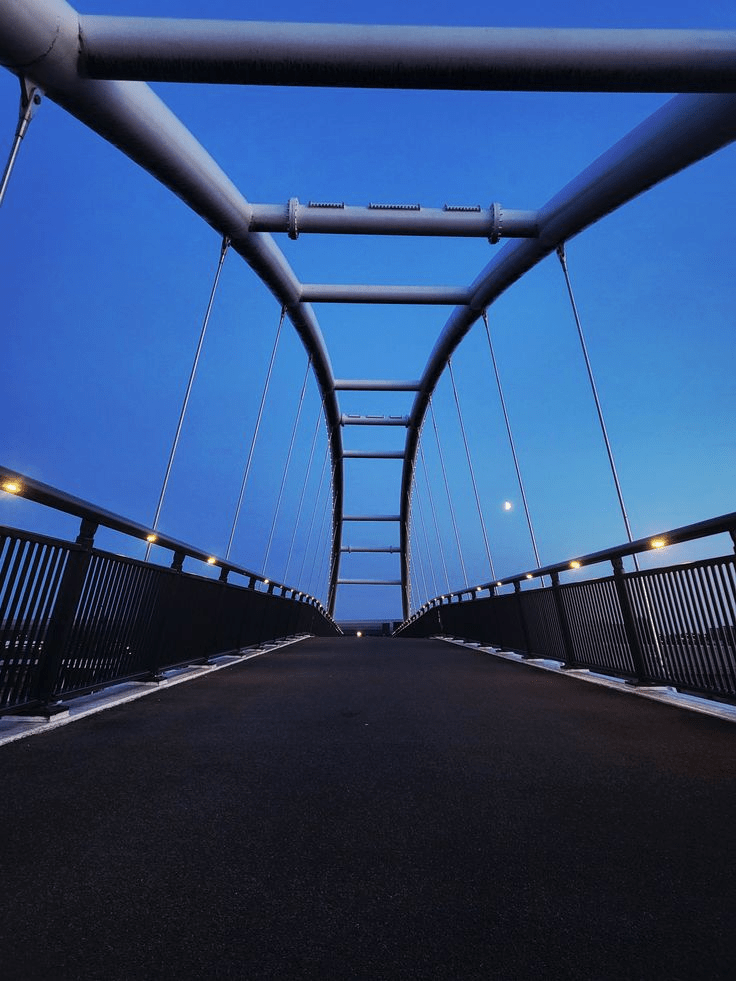
One of the most effective bridge photography techniques is to position yourself directly along the centerline of the structure. This creates a strong sense of symmetry and naturally draws the viewer’s eye toward the distance.
Look for repeating elements such as beams, cables, railings, lights, or support columns. When these lines gradually become smaller toward the horizon, they create a powerful leading-line effect.
Try keeping your camera level and carefully checking the edges of the frame. Small adjustments in your position can make a big difference in creating balanced symmetry.
This angle works particularly well with long pedestrian bridges, covered bridges, suspension bridges, and modern structures with repeating architectural patterns. Early morning or late afternoon light can add attractive shadows and depth to the repeating elements.
For smartphone photography, use the grid feature if available to help keep the bridge centered and straight. Take several versions while moving slightly forward or backward.
A centered composition may be simple, but when the architecture has strong geometry, simplicity can make the photograph especially striking.
2. Shoot From Directly Underneath
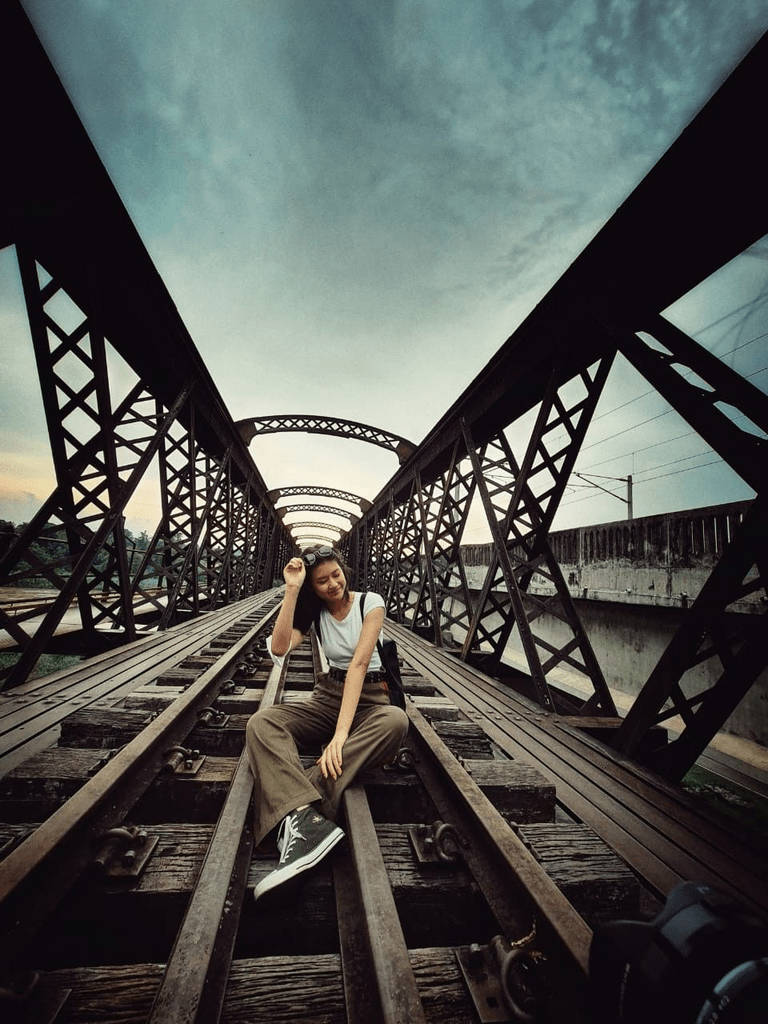
Instead of photographing the bridge from the side or above, walk underneath it and point your camera upward. This perspective can transform a familiar structure into an abstract architectural composition.
Look for interesting shapes created by support beams, cables, concrete sections, or metal frameworks. Try placing yourself near the center of the structure and photographing the patterns overhead.
A wide-angle lens can be particularly effective because it allows you to capture more of the bridge while emphasizing its scale. With a smartphone, the 0.5x or wide-angle setting can create a similar effect when available.
Pay attention to symmetry. If the underside has repeating supports, position yourself so they form a balanced pattern across the frame.
You can also photograph toward the edge of the bridge, allowing the structure to frame the sky. This creates a contrast between the heavy architectural elements and the open space above.
This technique works especially well on modern bridges with dramatic engineering details, but even simple concrete bridges can become visually interesting when photographed from an unusual viewpoint.
3. Use a Low-Angle Perspective
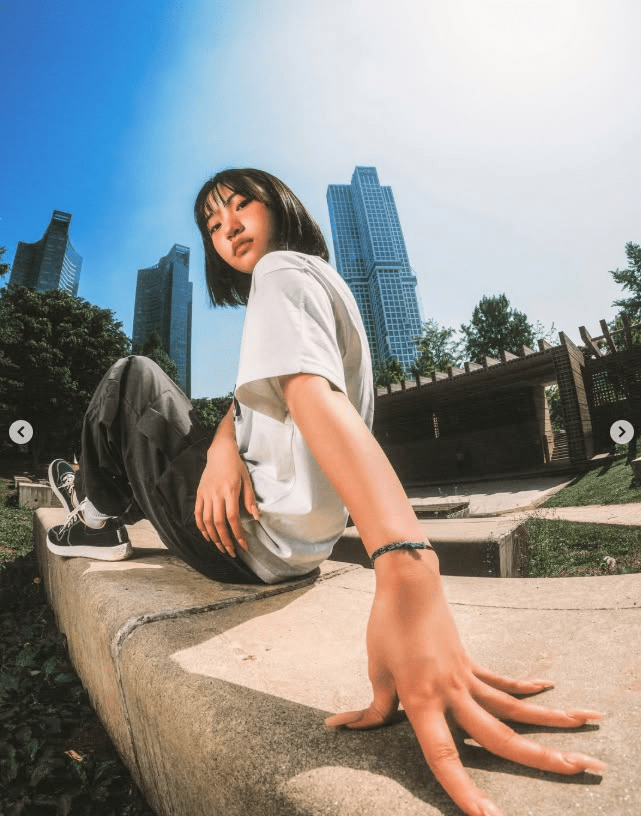
Get closer to the ground and photograph upward toward the bridge. A low-angle composition can make the structure appear larger, taller, and more imposing.
Look for a foreground element that can add depth, such as grass, pavement, rocks, flowers, or a textured path. Place this element near the bottom of the frame and allow the bridge to rise above it.
Low-angle photography is particularly effective for tall suspension bridges, towers, arches, and cable-stayed structures. Pointing the camera slightly upward can emphasize height and create dramatic converging lines.
Try photographing during sunrise, sunset, or partly cloudy weather. The sky can become an important part of the composition, especially when the bridge has a distinctive silhouette.
Be careful not to stand in unsafe areas or close to traffic simply to achieve a lower viewpoint. Look for public paths, sidewalks, viewpoints, and designated photography areas.
A low perspective can make an ordinary bridge feel monumental, giving your photograph a stronger sense of scale and drama.
4. Capture the Bridge Through a Frame
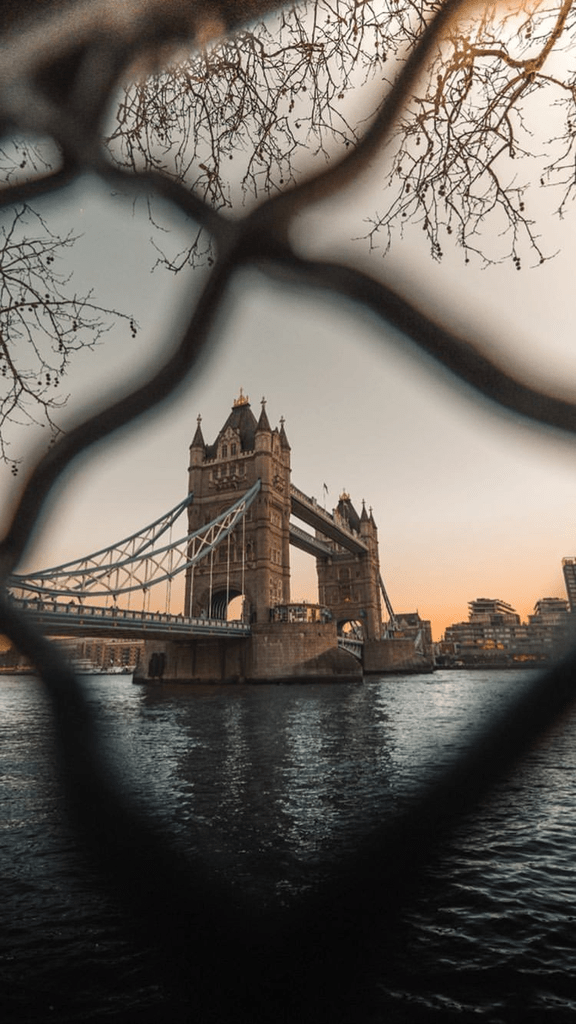
Look around the environment for something that can naturally frame the bridge. Trees, arches, windows, doorways, tunnels, fences, or nearby buildings can create a border around your main subject.
This technique is known as natural framing and can make your composition feel more layered. Instead of placing the bridge against an empty background, you create foreground, middle-ground, and background elements.
For example, you might photograph a bridge through the opening of another architectural structure or position yourself between two trees so their branches frame the bridge.
Keep the framing element slightly darker or softer than the bridge if possible. This helps direct attention toward the main subject.
You can also experiment with shallow depth of field if your camera allows it. A nearby branch or architectural detail can be slightly blurred while the bridge remains sharp in the background.
Natural framing is particularly useful when photographing bridges in parks, historic areas, or scenic landscapes. It helps connect the structure to its surroundings while giving the photograph a more intentional composition.
5. Photograph the Reflection in Water
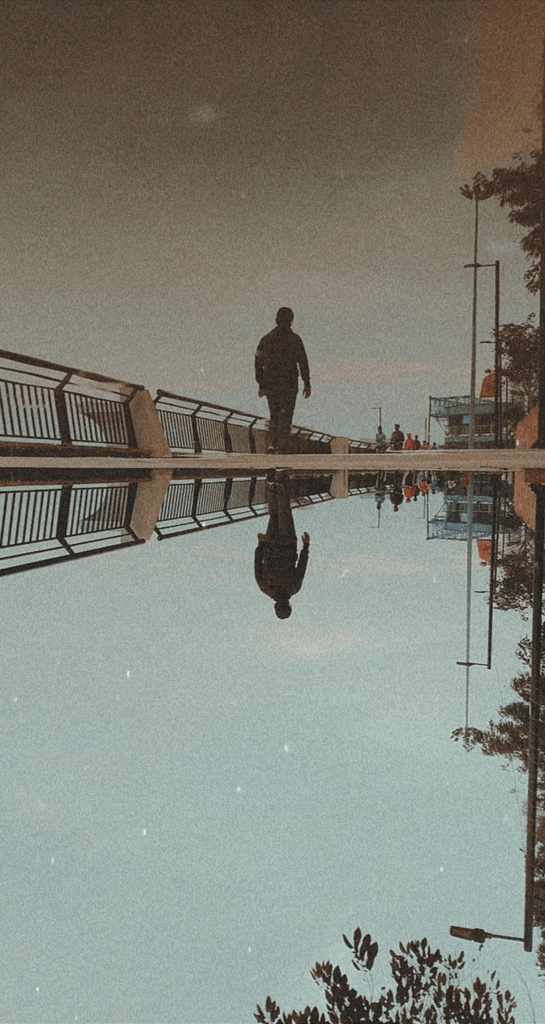
If the bridge crosses a river, lake, or calm harbor, use the water as part of your composition. Reflections can create symmetry and add a second visual version of the bridge.
On a calm day, position yourself so the bridge and its reflection occupy roughly equal portions of the frame. This can create a mirror-like composition.
You do not need perfectly still water, however. Gentle ripples can create artistic distortions that make the reflection look painterly and atmospheric.
Try photographing during blue hour, shortly after sunset, when artificial bridge lights begin to appear against the darker sky. The lights can create colorful or bright reflections across the water.
Another option is to focus primarily on the reflection and include only a small portion of the actual bridge. This creates a more abstract photograph.
Pay attention to the horizon and keep your camera level. If your composition includes large amounts of water, even a small tilt can become noticeable.
Reflections are especially useful when you want your bridge photography to feel peaceful, symmetrical, and visually balanced.
6. Photograph From a Distance
Sometimes the best bridge photograph comes from stepping much farther away. Instead of filling the entire frame with the structure, include the surrounding landscape or cityscape.
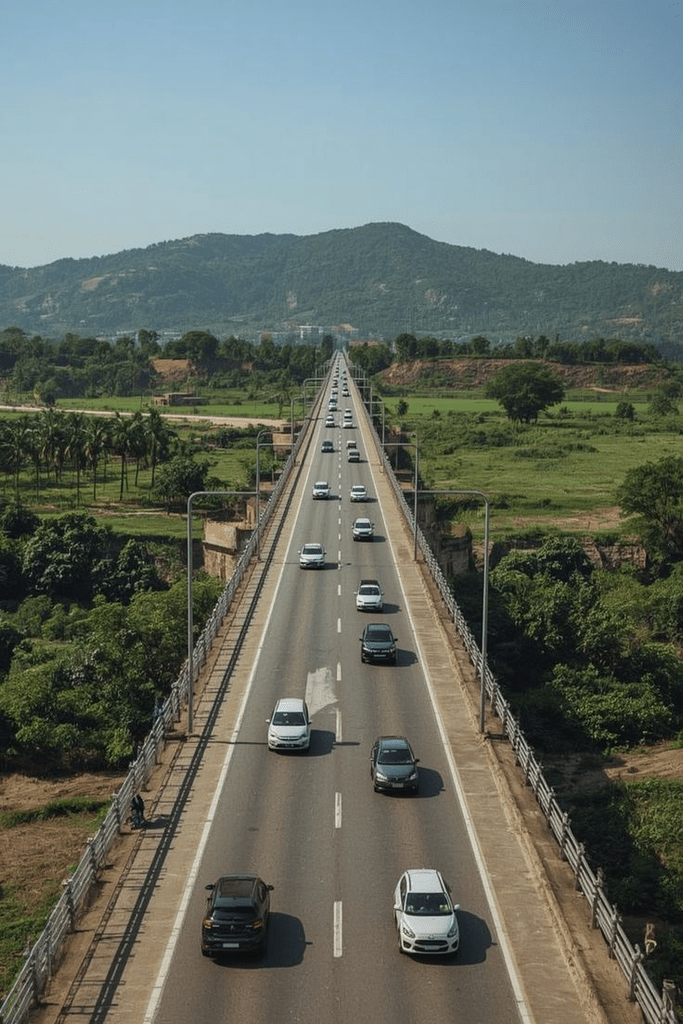
A distant perspective can show how the bridge fits into its environment. Mountains, buildings, rivers, trees, roads, and skylines can all provide important context.
Use a longer focal length if you want to visually compress the scene and make the bridge appear closer to surrounding features. Alternatively, a wide-angle lens can emphasize the vastness of the landscape.
Look for elevated viewpoints such as hills, public observation areas, pedestrian paths, or accessible buildings. These locations can give you a more complete view of the bridge and its surroundings.
Distance also works well for photographing bridges at sunrise or sunset. The structure can become a strong silhouette against the changing sky.
Rather than asking only, “How can I photograph this bridge?” ask, “How does this bridge belong to this place?” Including its environment can turn a simple architectural photograph into a stronger storytelling image.
7. Focus on Repeating Architectural Details
You do not always need to photograph the entire bridge. Zoom in on one interesting architectural detail and let it become the main subject.
Look for repeating cables, bolts, railings, beams, shadows, arches, textures, or geometric patterns. These details can create abstract photographs that may not immediately look like traditional bridge images.
Try filling most of the frame with the repeating pattern. Experiment with horizontal, vertical, and diagonal compositions.
You can also look for contrast between materials. Metal against concrete, weathered stone against modern glass, or bright lights against dark structures can create visual interest.
Black-and-white editing can work particularly well for architectural details because it emphasizes shape, texture, contrast, and geometry.
When photographing close-up details, take time to explore the structure from multiple positions. Move left, right, closer, and farther away. A small change in your viewpoint can dramatically change how lines overlap.
This approach is ideal when the bridge has distinctive engineering features that deserve more attention than the overall landscape.
8. Include People or Vehicles for Scale
A bridge can be difficult to appreciate in size when photographed by itself. Including people, cyclists, cars, buses, or trains can provide an immediate sense of scale.
Look for moments when someone naturally enters your composition. A person walking across a pedestrian bridge can become a small silhouette against the larger structure.
For road bridges, vehicles can create movement and visual rhythm. If you are photographing from a safe public location, wait for a vehicle to enter a useful position in the frame.
You can also use people as compositional elements rather than making them the main subject. Position them near a large architectural feature to emphasize the contrast between human scale and structural scale.
Avoid photographing people in unsafe areas or stepping into traffic for the shot. Find a legal and secure viewpoint first, then wait patiently for an interesting moment.
Adding scale can make bridge photographs feel more dramatic and realistic. It helps viewers understand just how large, tall, or expansive the structure really is.
9. Try a Nighttime Bridge Photograph
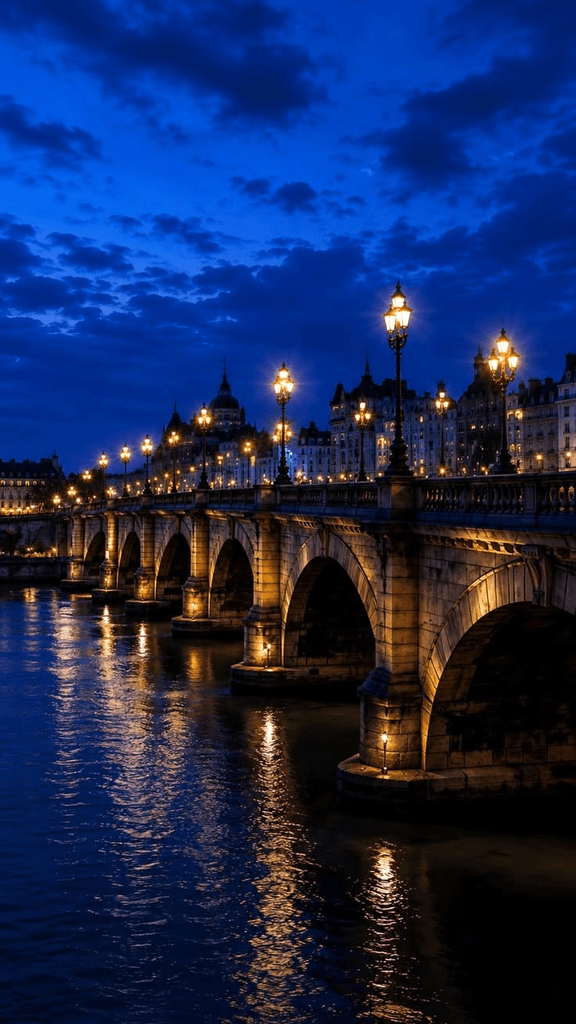
Bridges can have an entirely different personality after dark. Streetlights, architectural lighting, passing vehicles, and illuminated buildings can turn the structure into a colorful nighttime subject.
Use a stable surface or tripod if you have one, particularly when photographing with a slower shutter speed. This can help keep the bridge sharp while allowing you to capture light trails from moving vehicles.
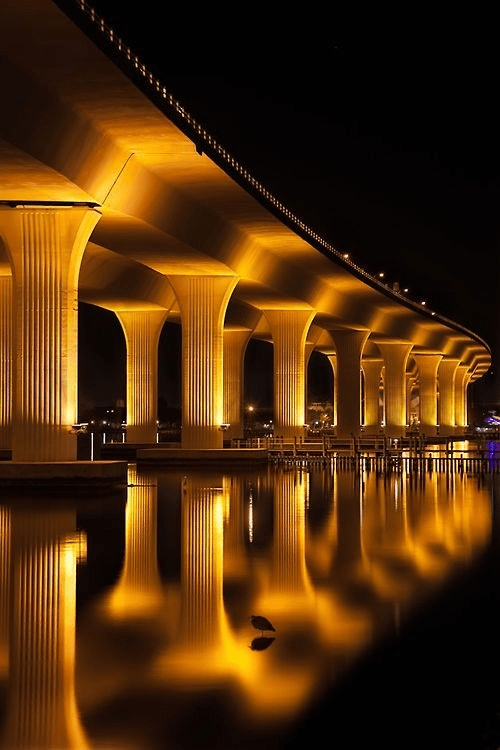
Look for reflections if the bridge crosses water. Artificial lights reflected on the surface can add another layer of visual interest.
Experiment with different exposures rather than relying on a single photograph. Bright lights can easily become overexposed, so check the highlights and adjust your exposure when necessary.
Blue hour can be especially attractive because the sky still has some natural color while the bridge lights are already visible.
Always prioritize safety when photographing at night. Stay in designated public areas, avoid restricted spaces, and be aware of traffic and your surroundings.
Night photography can turn a familiar bridge into a completely different subject and give your collection more variety.
10. Experiment With Motion and Long Exposure
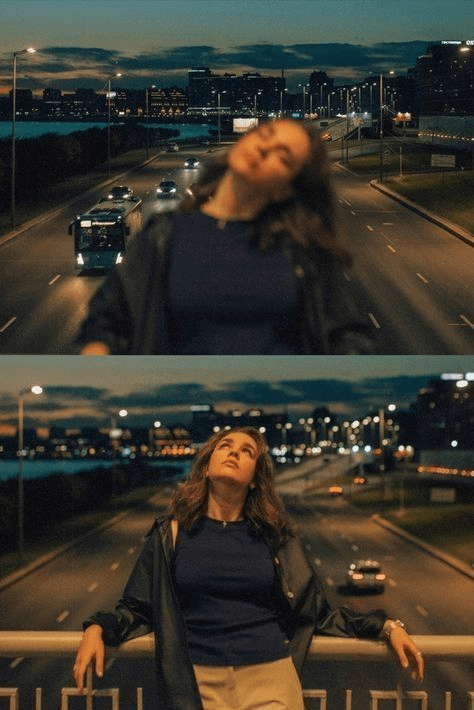
Long exposure photography can add a sense of movement to bridge images. Depending on the location, you can capture smooth water, blurred clouds, or light trails from passing vehicles.
A tripod is helpful because the camera needs to remain steady during a longer exposure. Start with a moderate shutter speed and experiment from there.
For vehicle light trails, position yourself somewhere safe with a clear view of the road. Wait for traffic to pass through the composition while the shutter is open.
For bridges over water, a longer exposure can smooth out small waves and create a softer appearance around the structure.
You can also experiment with moving clouds if the weather and composition allow it. A bridge combined with streaking clouds can create a dramatic sense of direction.
Long exposure requires some experimentation, so take several photographs with different shutter speeds and exposure settings. Review the results and adjust accordingly.
This technique is especially effective after sunset or during low-light conditions, when longer exposures can capture interesting movement and illumination.
Summary
Bridge photography offers countless opportunities to experiment with perspective, composition, light, and movement. Instead of always photographing a bridge from eye level, try standing directly in the center, shooting from underneath, getting low to the ground, or stepping farther away to include the surrounding landscape. Reflections, natural frames, architectural details, and human subjects can also transform a familiar structure into a more compelling photograph.
For more dramatic results, explore nighttime photography and long exposures to capture illuminated structures, smooth water, and vehicle light trails. The most important technique is simply to move around and look at the bridge from different viewpoints. With a little patience and creativity, even a bridge you have photographed many times can reveal a completely new perspective.
Frequently Asked Questions
1. What is the best angle for bridge photography?
There is no single best angle. Centered compositions are excellent for symmetry, low angles emphasize scale, and views from underneath highlight architectural details. Experimenting with several viewpoints usually produces the strongest collection.
2. How can I make bridge photos more interesting?
Use leading lines, reflections, natural framing, unusual perspectives, architectural details, people for scale, and interesting lighting. Changing your position can often make a bigger difference than changing your equipment.
3. Is a smartphone good enough for bridge photography?
Yes. Modern smartphones can produce excellent architectural photographs. Use the grid, experiment with wide-angle and telephoto options, and pay close attention to composition and lighting.
4. What time of day is best for photographing bridges?
Golden hour and blue hour are particularly useful. Golden hour provides warm natural light, while blue hour combines a colorful sky with artificial bridge lighting.
5. How do I photograph a bridge reflection?
Look for calm water and position yourself so the bridge and its reflection create a balanced composition. Try both symmetrical reflections and closer, abstract views of the water.
6. Should I use a tripod for bridge photography?
A tripod is especially useful for nighttime and long-exposure photography. For daytime photographs, handheld shooting is usually sufficient if you have good light.
7. How can I show the size of a bridge in a photograph?
Include people, vehicles, boats, nearby buildings, or other recognizable objects. These elements give viewers a reference point for understanding the bridge’s scale.
8. What should I avoid when photographing bridges?
Avoid restricted areas, active roadways, railway tracks, unstable edges, and other unsafe locations. A creative photograph is never worth putting yourself or others at risk.