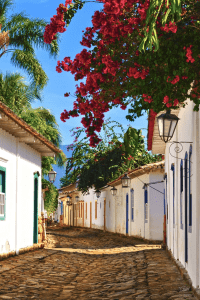
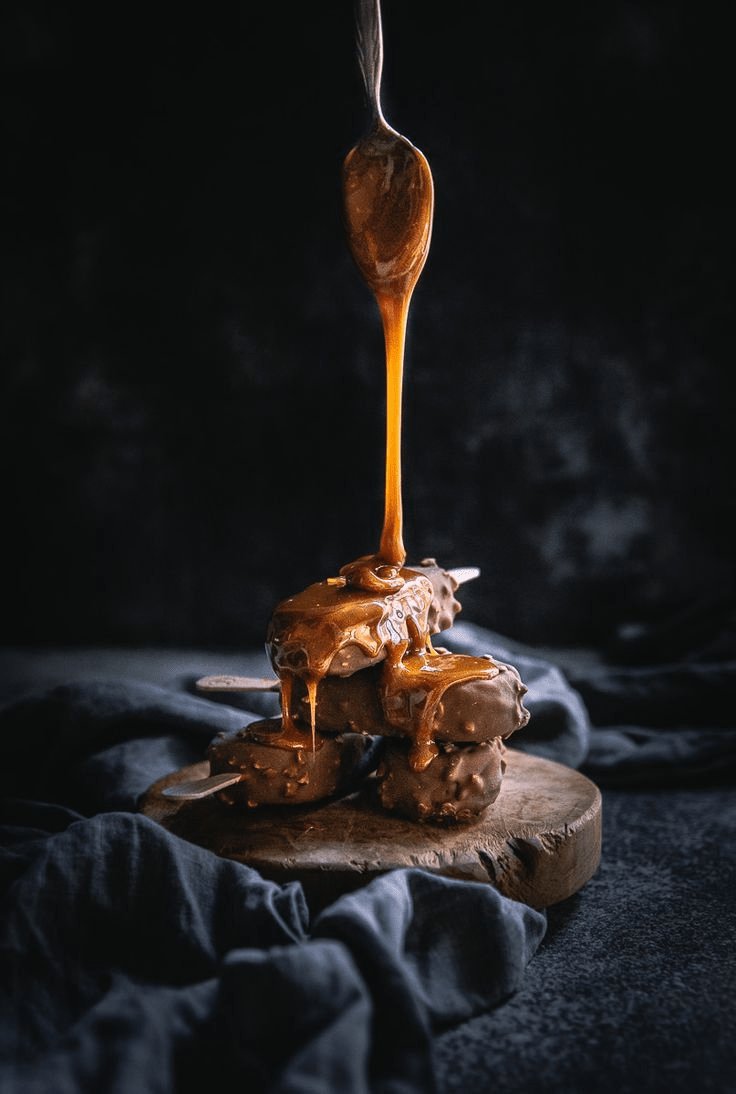
Great food photography is not only about the dish itself—it is also about how you capture the colors, textures, and details that make food look irresistible. Lighting plays one of the biggest roles in creating beautiful food photos because it can highlight freshness, add depth, and make simple meals appear more professional. Even with a smartphone camera and basic equipment, the right lighting techniques can dramatically improve your images.
You don’t need an expensive studio setup to take stunning food photos. Natural light, simple reflectors, and thoughtful positioning can help you create bright, appealing images for blogs, social media, menus, or personal projects. By understanding how light affects your food, you can bring out details like crispy textures, creamy sauces, and vibrant ingredients. Here are 8 simple lighting tricks to help you capture better food photos.
1. Use Natural Window Light
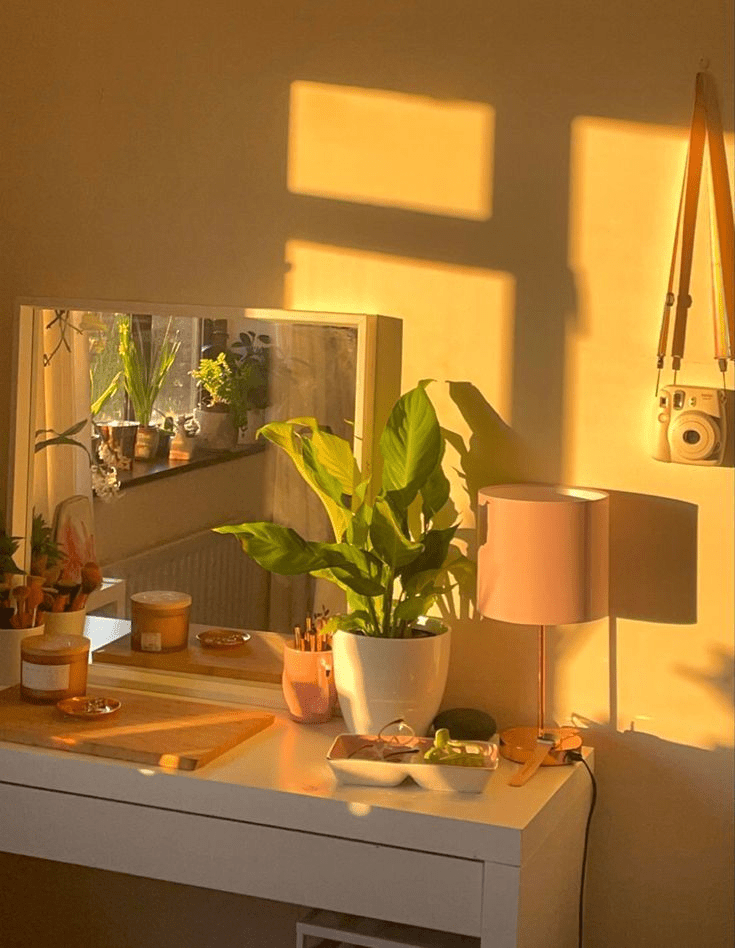
Natural light is one of the easiest and most effective ways to photograph food.
Place your dish near a window where soft daylight can illuminate the food. Side lighting from a window can create beautiful shadows and highlight textures without making the image look flat.
Tips:
- Avoid direct harsh sunlight
- Use curtains to soften strong light
- Try different window angles
2. Photograph During the Golden Hour
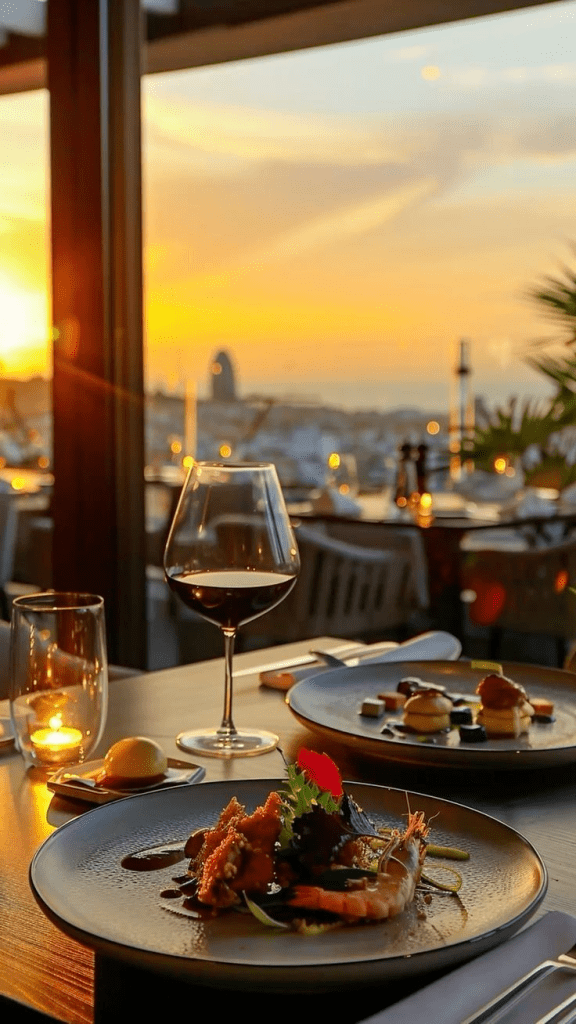
Golden hour is the period shortly after sunrise or before sunset when light becomes warmer and softer.
This gentle lighting can add a cozy feeling to food photos, especially for outdoor dining scenes, baked goods, drinks, and rustic dishes.
Great for:
- Picnic photos
- Outdoor meals
- Warm dessert shots
3. Use Side Lighting for Texture
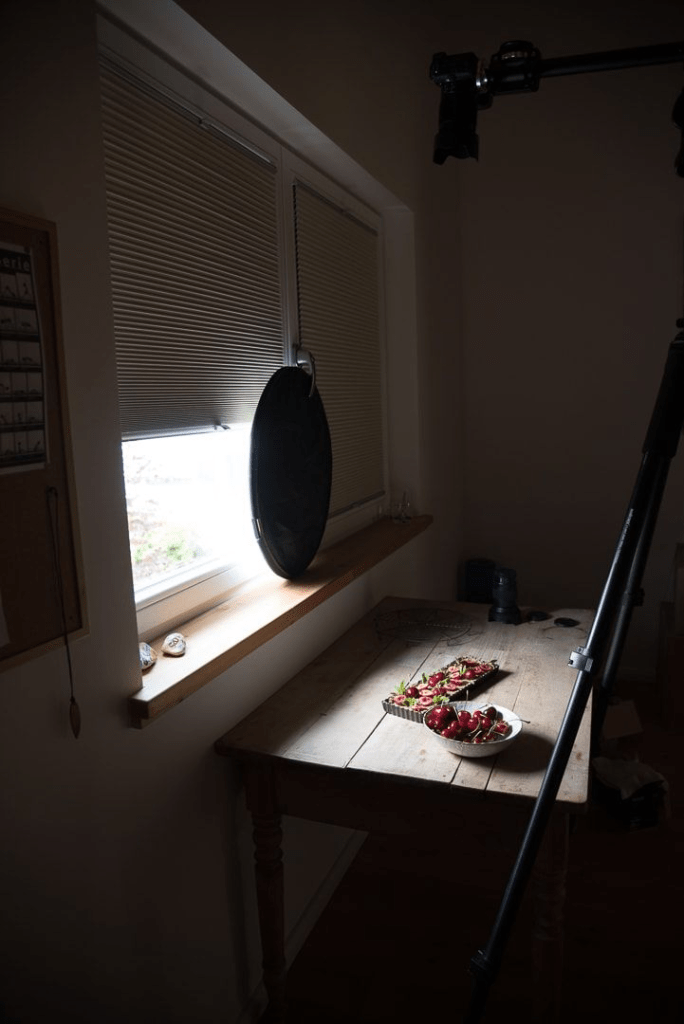
Side lighting helps reveal the details and texture of food.
Position the light source to one side of your dish to create gentle shadows that show layers, toppings, and surface details. This technique works especially well for bread, pastries, grilled foods, and textured dishes.
4. Try Backlighting for Drinks and Desserts
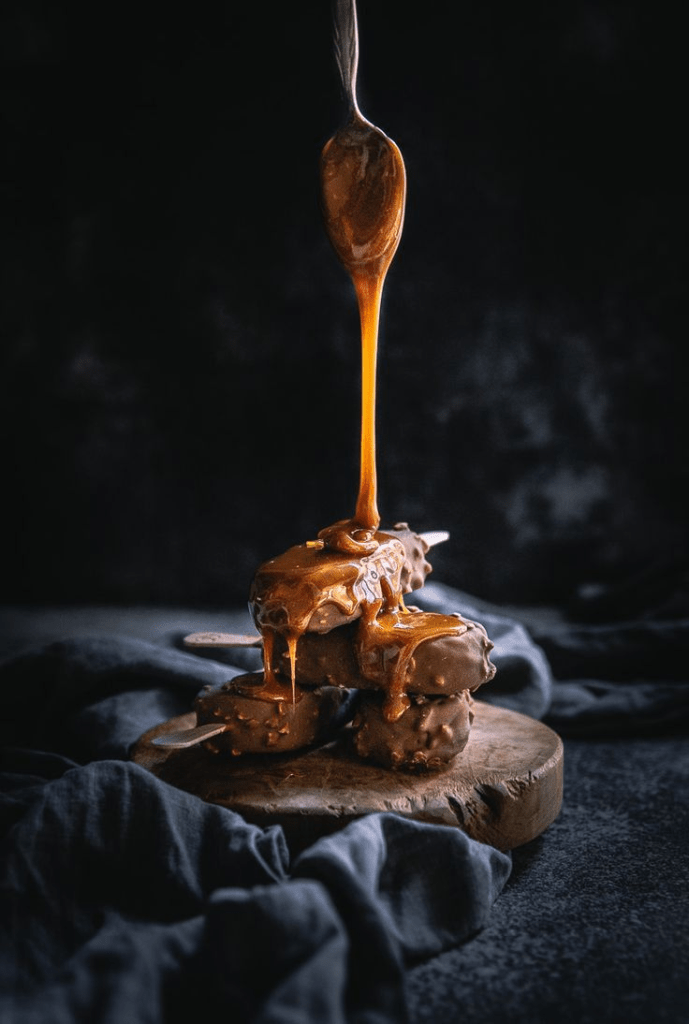
Backlighting means placing the light source behind your food.
This technique can make liquids, glassware, and desserts appear brighter and more appealing. It helps highlight transparency, shine, and delicate details.
Perfect for:
- Smoothies
- Coffee drinks
- Cakes
- Fresh fruit
5. Use a White Reflector to Reduce Shadows
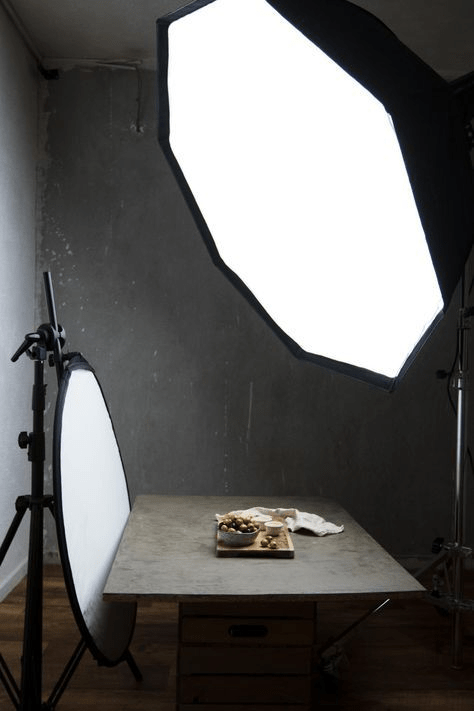
A simple white surface can help balance your lighting.
Place a white foam board, paper sheet, or reflector opposite the light source to bounce light back onto the darker side of your food. This creates a softer and more professional appearance.
6. Avoid Using Your Camera Flash
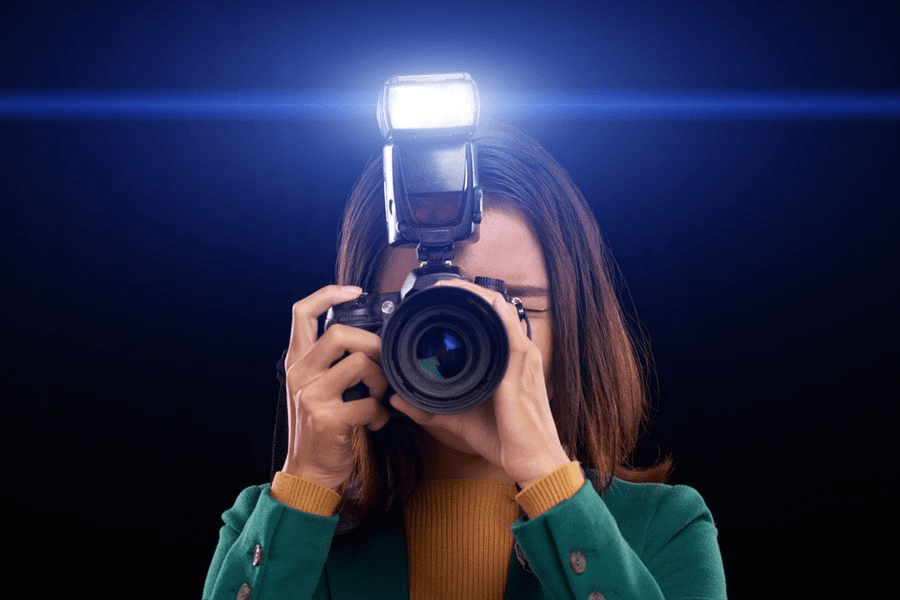
Built-in camera flash often creates harsh shadows and unnatural colors.
Instead, use available light sources like windows, lamps, or affordable continuous lights. Soft lighting usually makes food appear more natural and appetizing.
7. Control Harsh Light with Diffusers
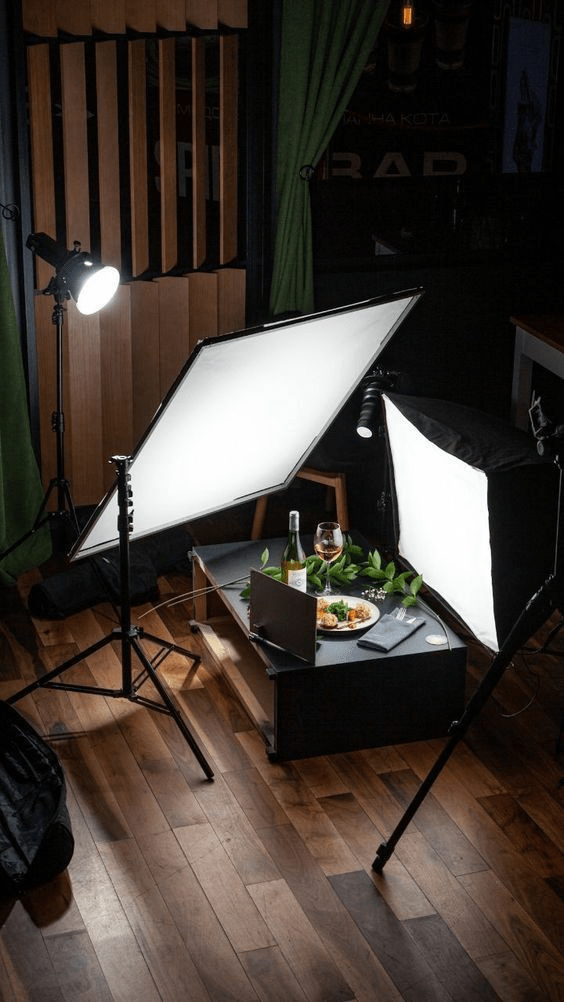
Strong sunlight can create unwanted shadows and bright highlights.
Use a diffuser, sheer curtain, or thin white fabric to soften the light before it reaches your food. This creates a smoother look with more balanced details.
8. Create Depth with Multiple Light Sources
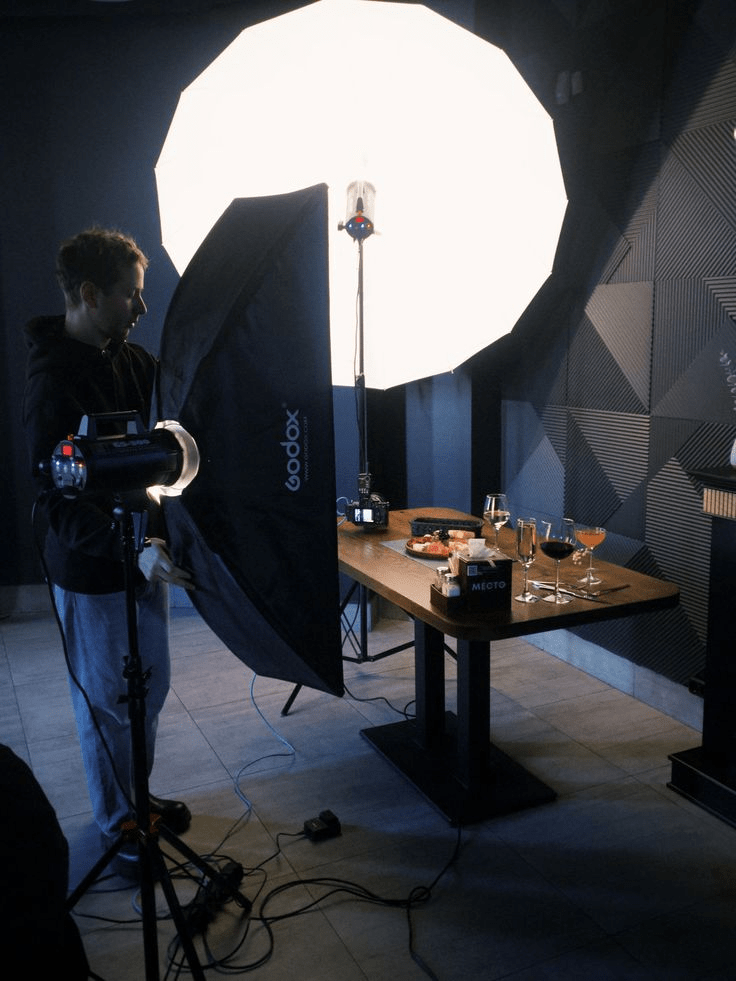
Using more than one light source can add dimension to your photos.
Combine a main light with a small fill light or reflector to control shadows and highlight important areas. Even simple setups can create a professional-looking result.
Try using:
- Window light
- Small LED lights
- Reflectors
Summary
Lighting can completely transform food photography by making dishes look more colorful, detailed, and appealing. Simple techniques like using window light, adjusting angles, reducing harsh shadows, and adding reflectors can help beginners capture beautiful food images without expensive equipment. With practice and experimentation, these lighting tricks can help you create photos that look professional and showcase your food at its best.
Frequently Asked Questions
What is the best lighting for food photography?
Natural window light is one of the most popular choices because it creates soft and realistic-looking images.
Should I use flash for food photos?
Most food photographers avoid direct flash because it can create harsh shadows and unnatural colors.
Is morning or evening light better for food photography?
Both can work well. Morning light is often soft and fresh, while evening golden-hour light creates a warmer mood.
How can I make food photos brighter?
Use natural light, reflectors, lighter backgrounds, and adjust your camera exposure settings.
What direction should food lighting come from?
Side lighting and backlighting are commonly used because they highlight texture and create depth.
Do I need expensive equipment for food photography?
No. A smartphone, window light, and simple reflectors can produce excellent results.
How do I avoid dark shadows in food photos?
Use a reflector or white surface to bounce light back onto the shadow areas.
What time of day is best for natural food photography?
Late morning, early afternoon with diffused light, or golden hour often provide beautiful results depending on your setup.